What a witty title. It’s like I’m channeling my inner hormone-raging teen who doesn’t know the first thing about sexy time.
Anyway. GET YOUR MINDS OUT OF THE GUTTER AND INTO THE DIRT.
Since Andy has been traveling like crazy, I figured a great way to relax him would be to make him help me bring my crackpot idea of an indoor succulent garden to fruition. Especially since all the herbs I planted died in the past few weeks’ heat wave – except the mint, praise be (because if that goes, we’re doomed).
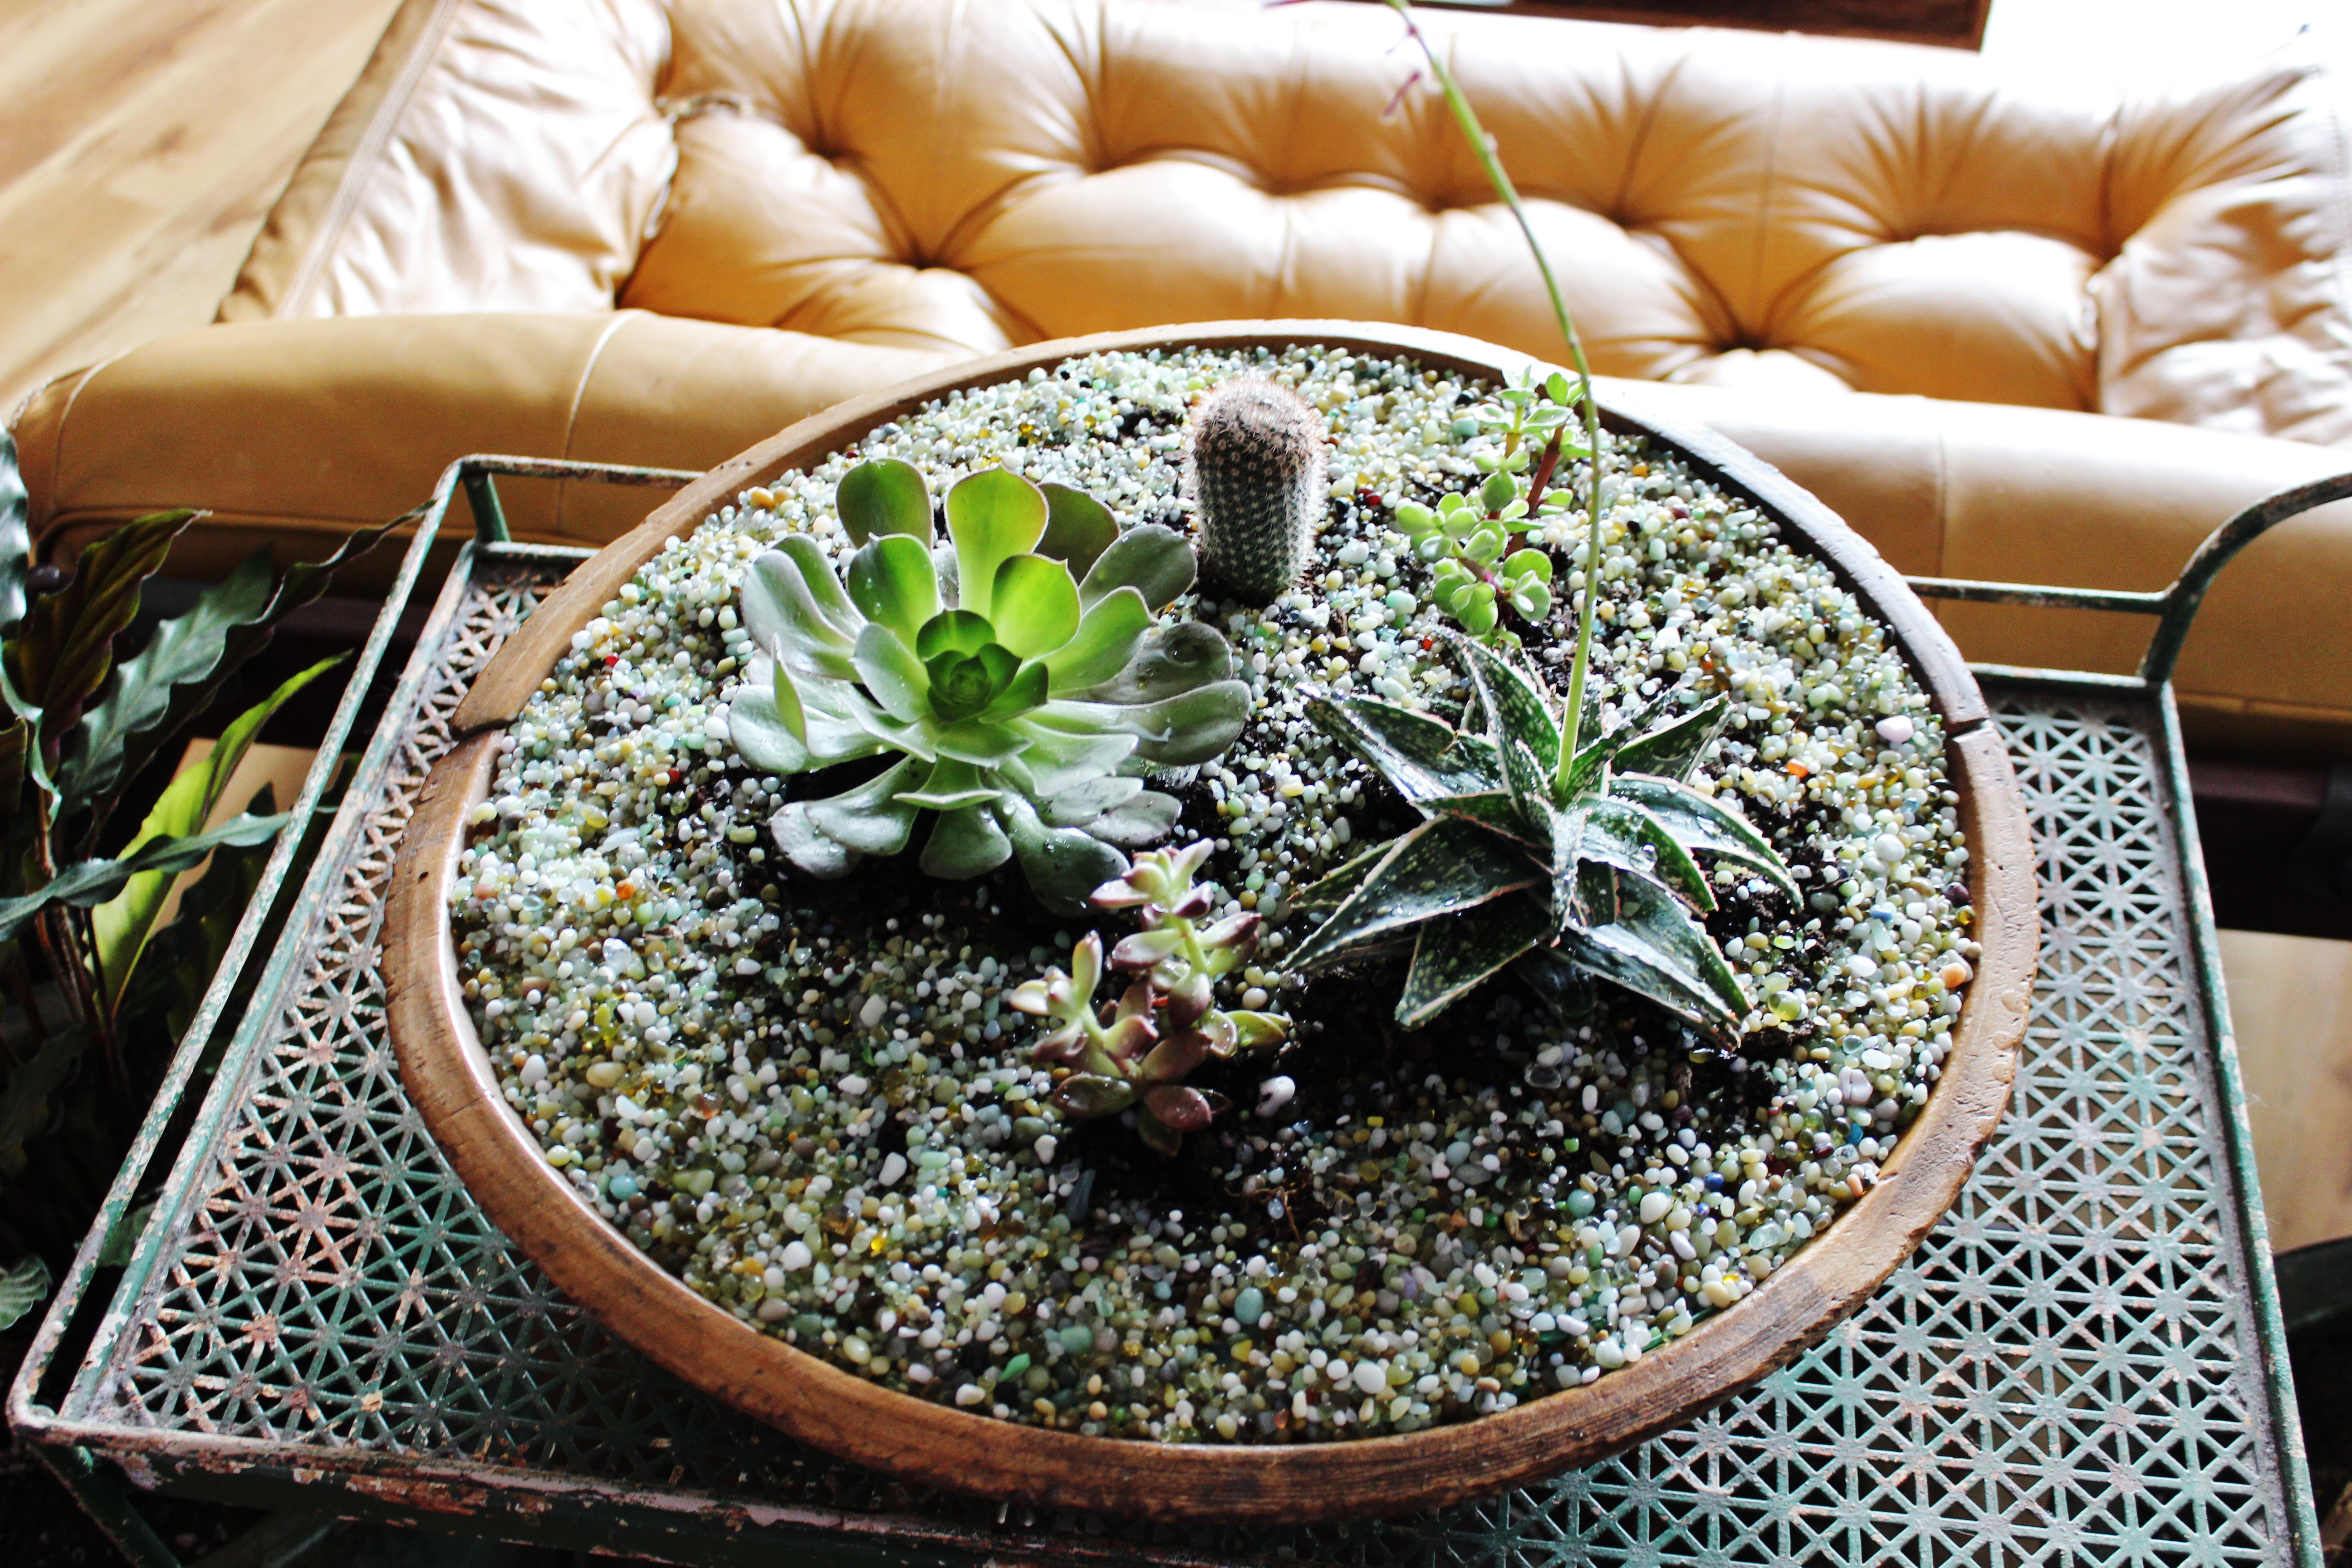
See, both of us appreciate the calming effects of indoor greenery – especially since we haven’t had anything approximating an outdoor space since Raleigh. And even that was pretty hazardous. BUT NOW, we have a teeny succulent garden in an antique dough bowl. Because we’re raging gays who love to incorporate antiques into anything we can.
How do you construct this wonderful, life-changing succulent garden, dearest Green Guru? you’re asking your computer screens.
WELL, let me show you.
Step 1: Get Yo Antiquin’ Pants On!
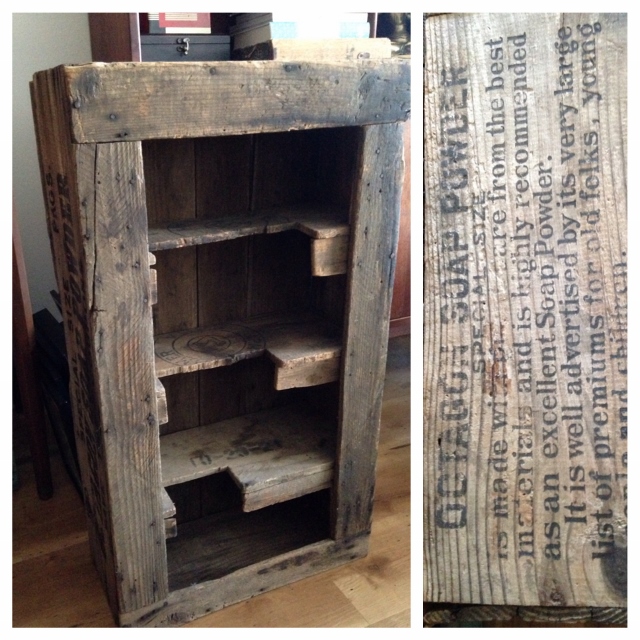
If you don’t have superfluous antique dough bowls laying around, you’re a loser and you should hate yourself. Just kidding! You should pride yourself on not being crazy hoarders like us. But if you love American Primitive goodies, or want a unique planter, waddle to your nearest antique store and poke around their outdoor stuff, or look for an old utilitarian box like this one that we just sold.
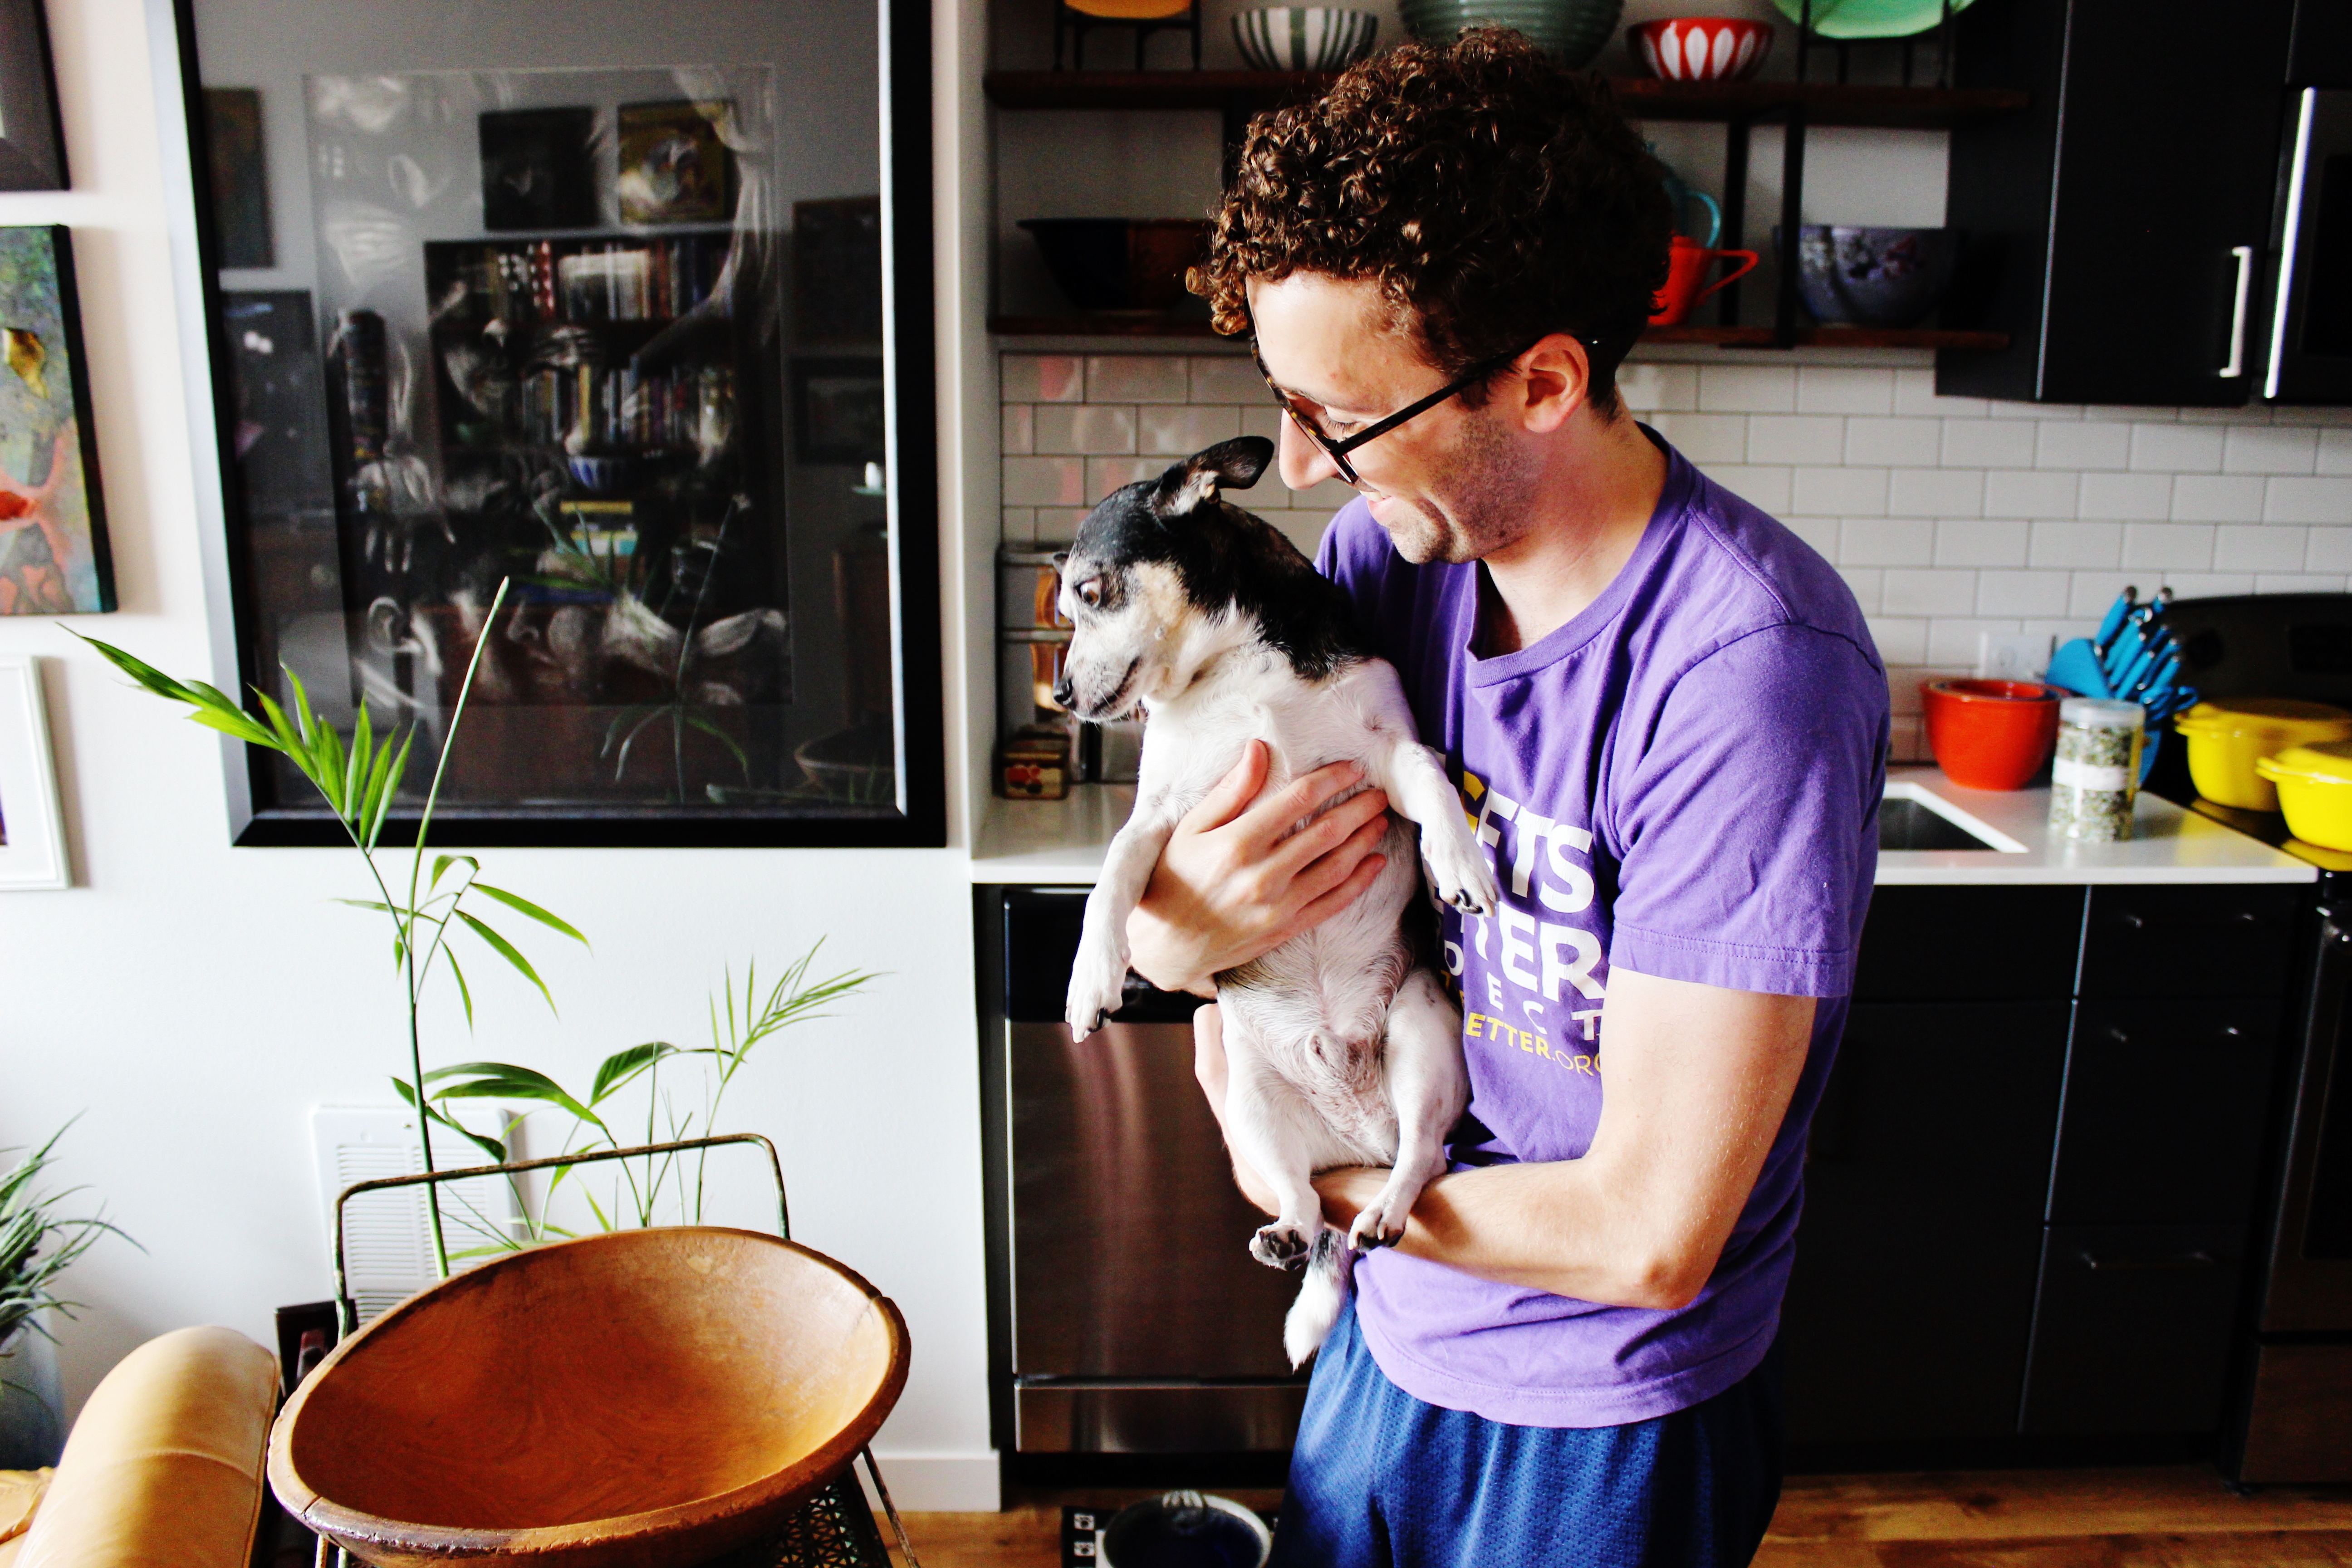
So, like I was saying, find this amazing thing and hold it up so that your photographer can take a cheesy, not-at-all-staged photo.
(Also, be sure to wear a shirt with a socially conscious message so that Dan Savage will see your blog post and exclaim to his lovely family that they should go out and do this project IMMEDIATELY and then invite us over to ogle it and laugh at the world in all its weirdness.)
Step 2: The Secret Ingredient!
Add obese Chihuahua.
Kidding!
Step 3a: Walk the Line[r]
Since I didn’t want to damage the actual dough bowl, I made makeshift “liners” out of two large compostable bags (got them at Target). And then I nested a small plastic water catcher in the bottom center, on top of the bottom liner. This way, any water that percolates down should get caught in this reservoir.
Step 3b: Start Layering!
I layered a bit of Cactus Mix (small bag) atop the bottom liner and in the reservoir – just to help absorb any percolating water.
Step 3c: Layer 2 (Take Some Scissors to That Old Bag)
Unlike the bottom liner, I perforated the top liner so that most of the holes were over the plastic reservoir in the second liner layer – so that any percolating water would most likely funnel into it.
Step 4: More soil!
Add soil little by little, spreading it out to leave about an inch of the exposed bag layer around the bowl’s circumference.
Again, I didn’t want the soil directly touching the wood, so the exposed bag around the edges is for buffering purposes. (Plus, whenever I need to refresh the soil, I can dust off the edges and pull up on these bags – bringing each layer out in one large section.)
(Also, make sure your hair looks decent.)
Step 5: Succulent Staging!
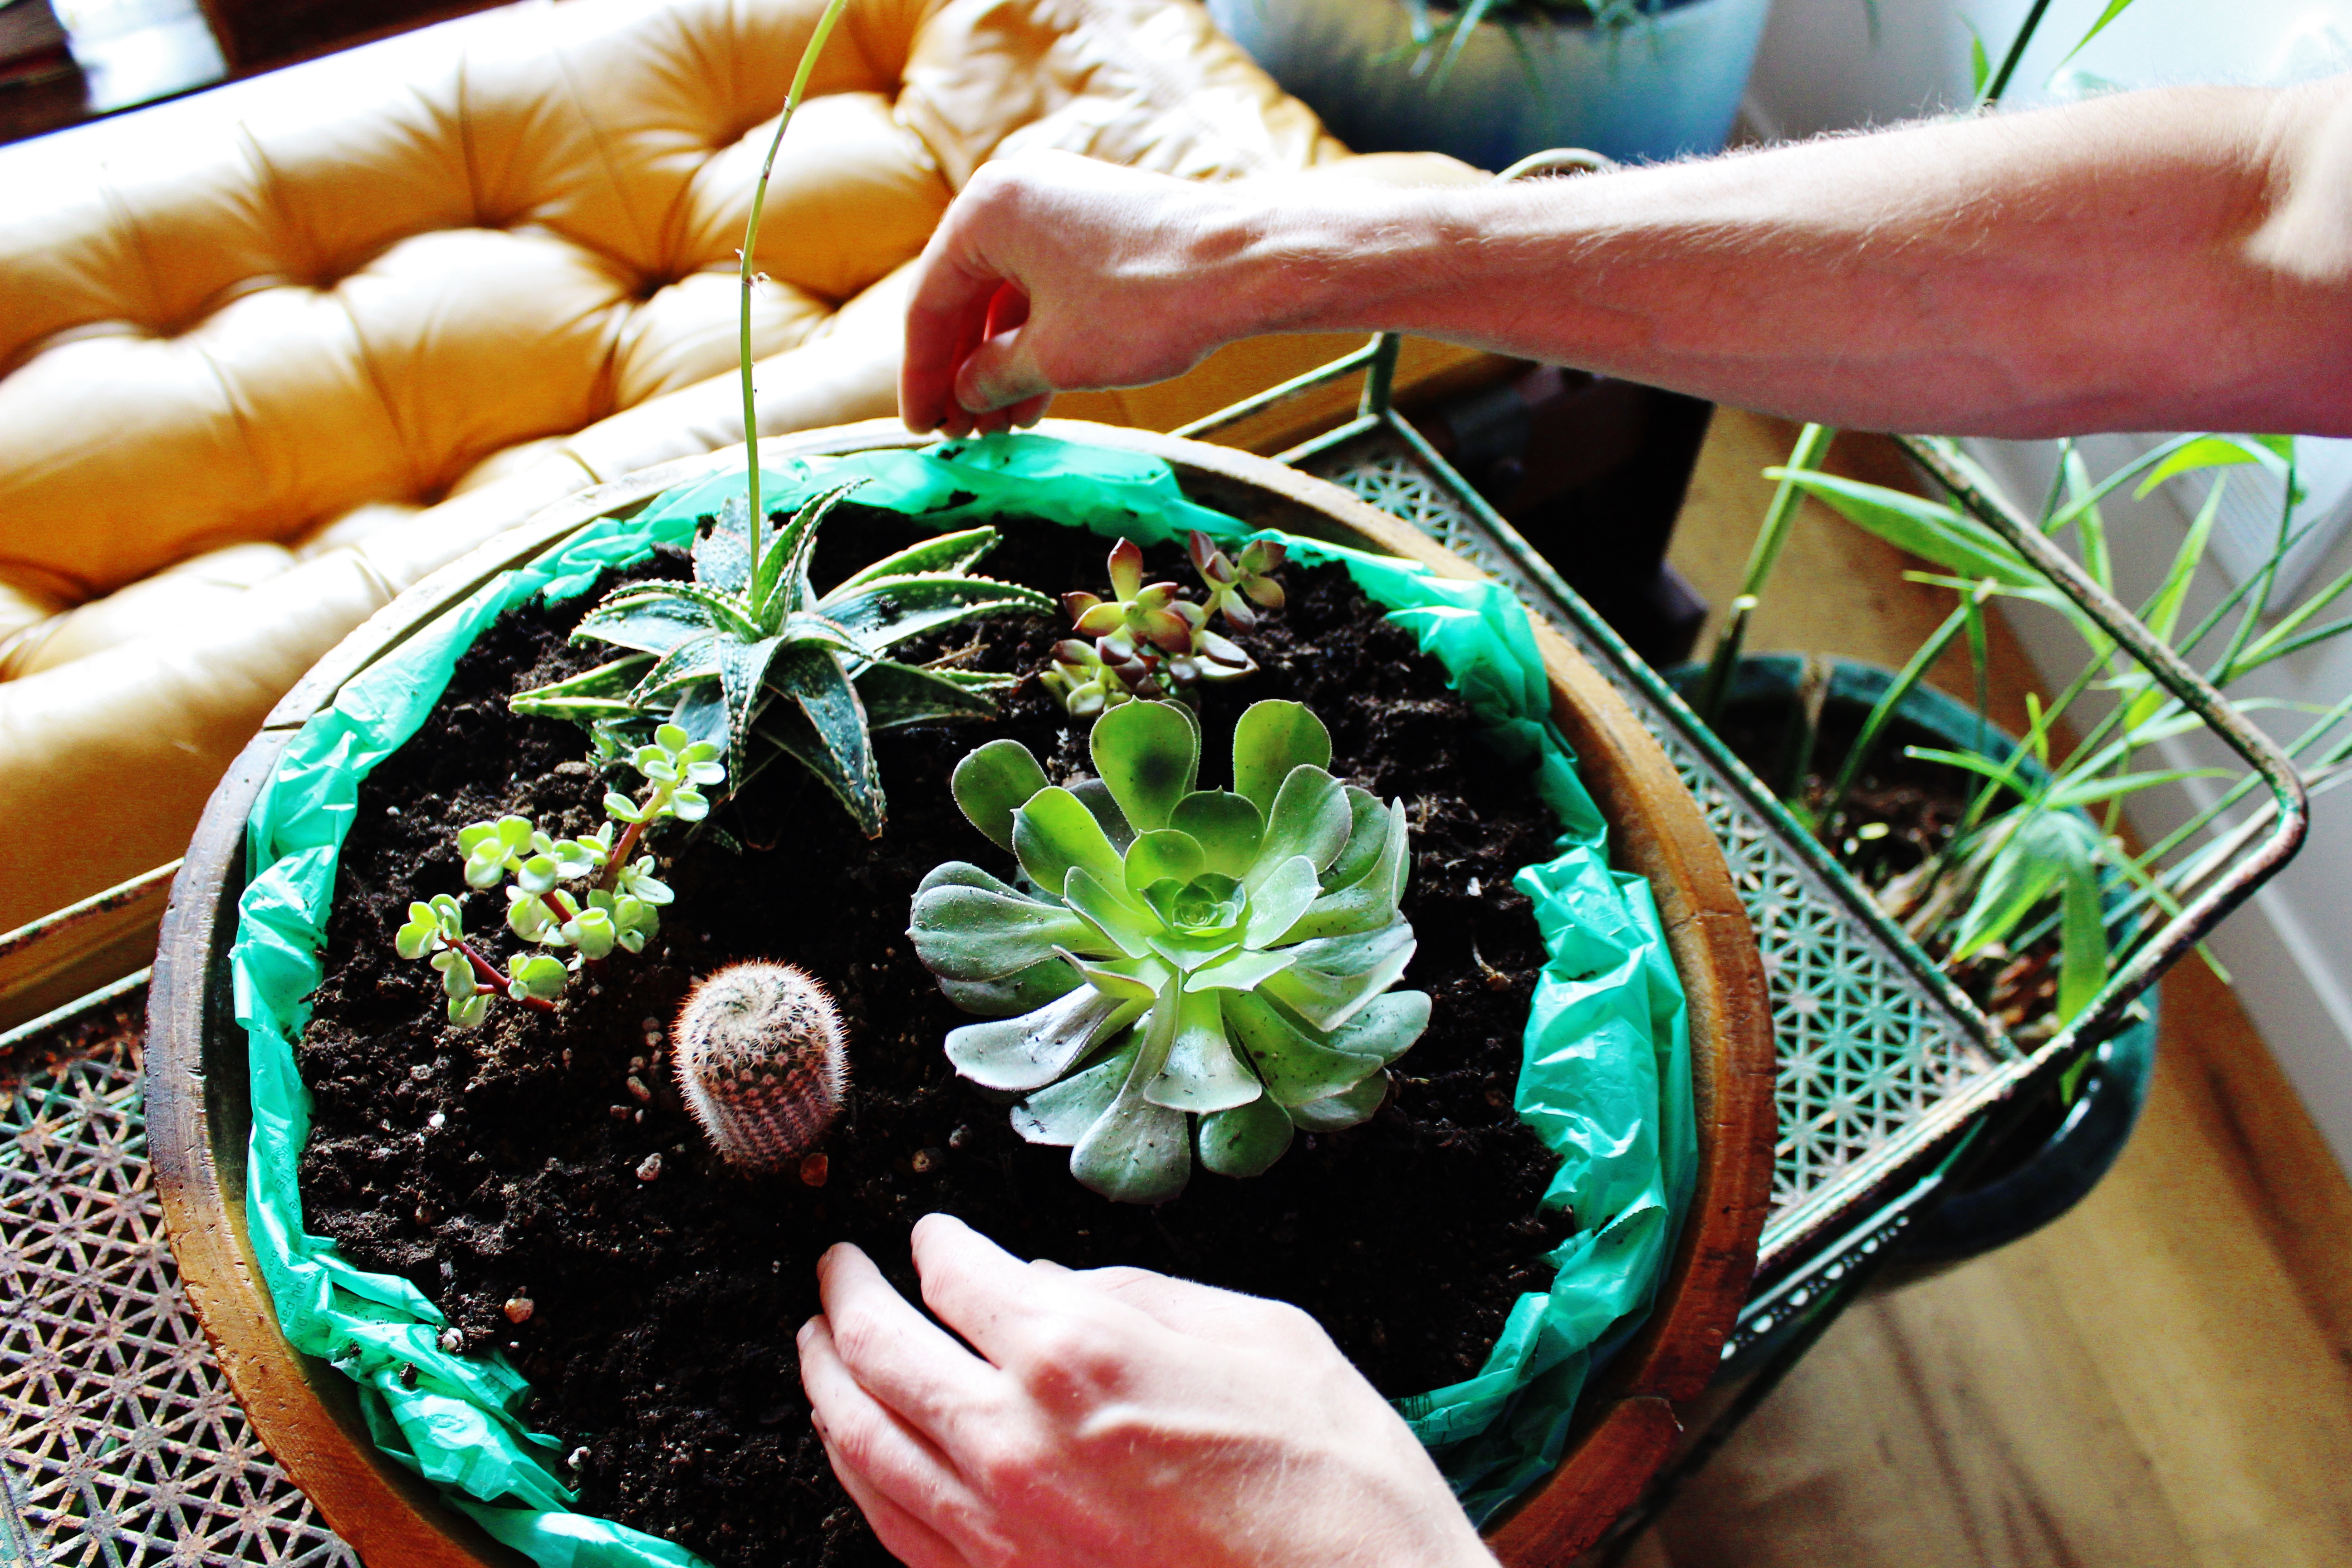
Unpot, arrange, and plant your succulents as you’d like.
(Double chin optional.)
Step 6: Roll the Bowl!
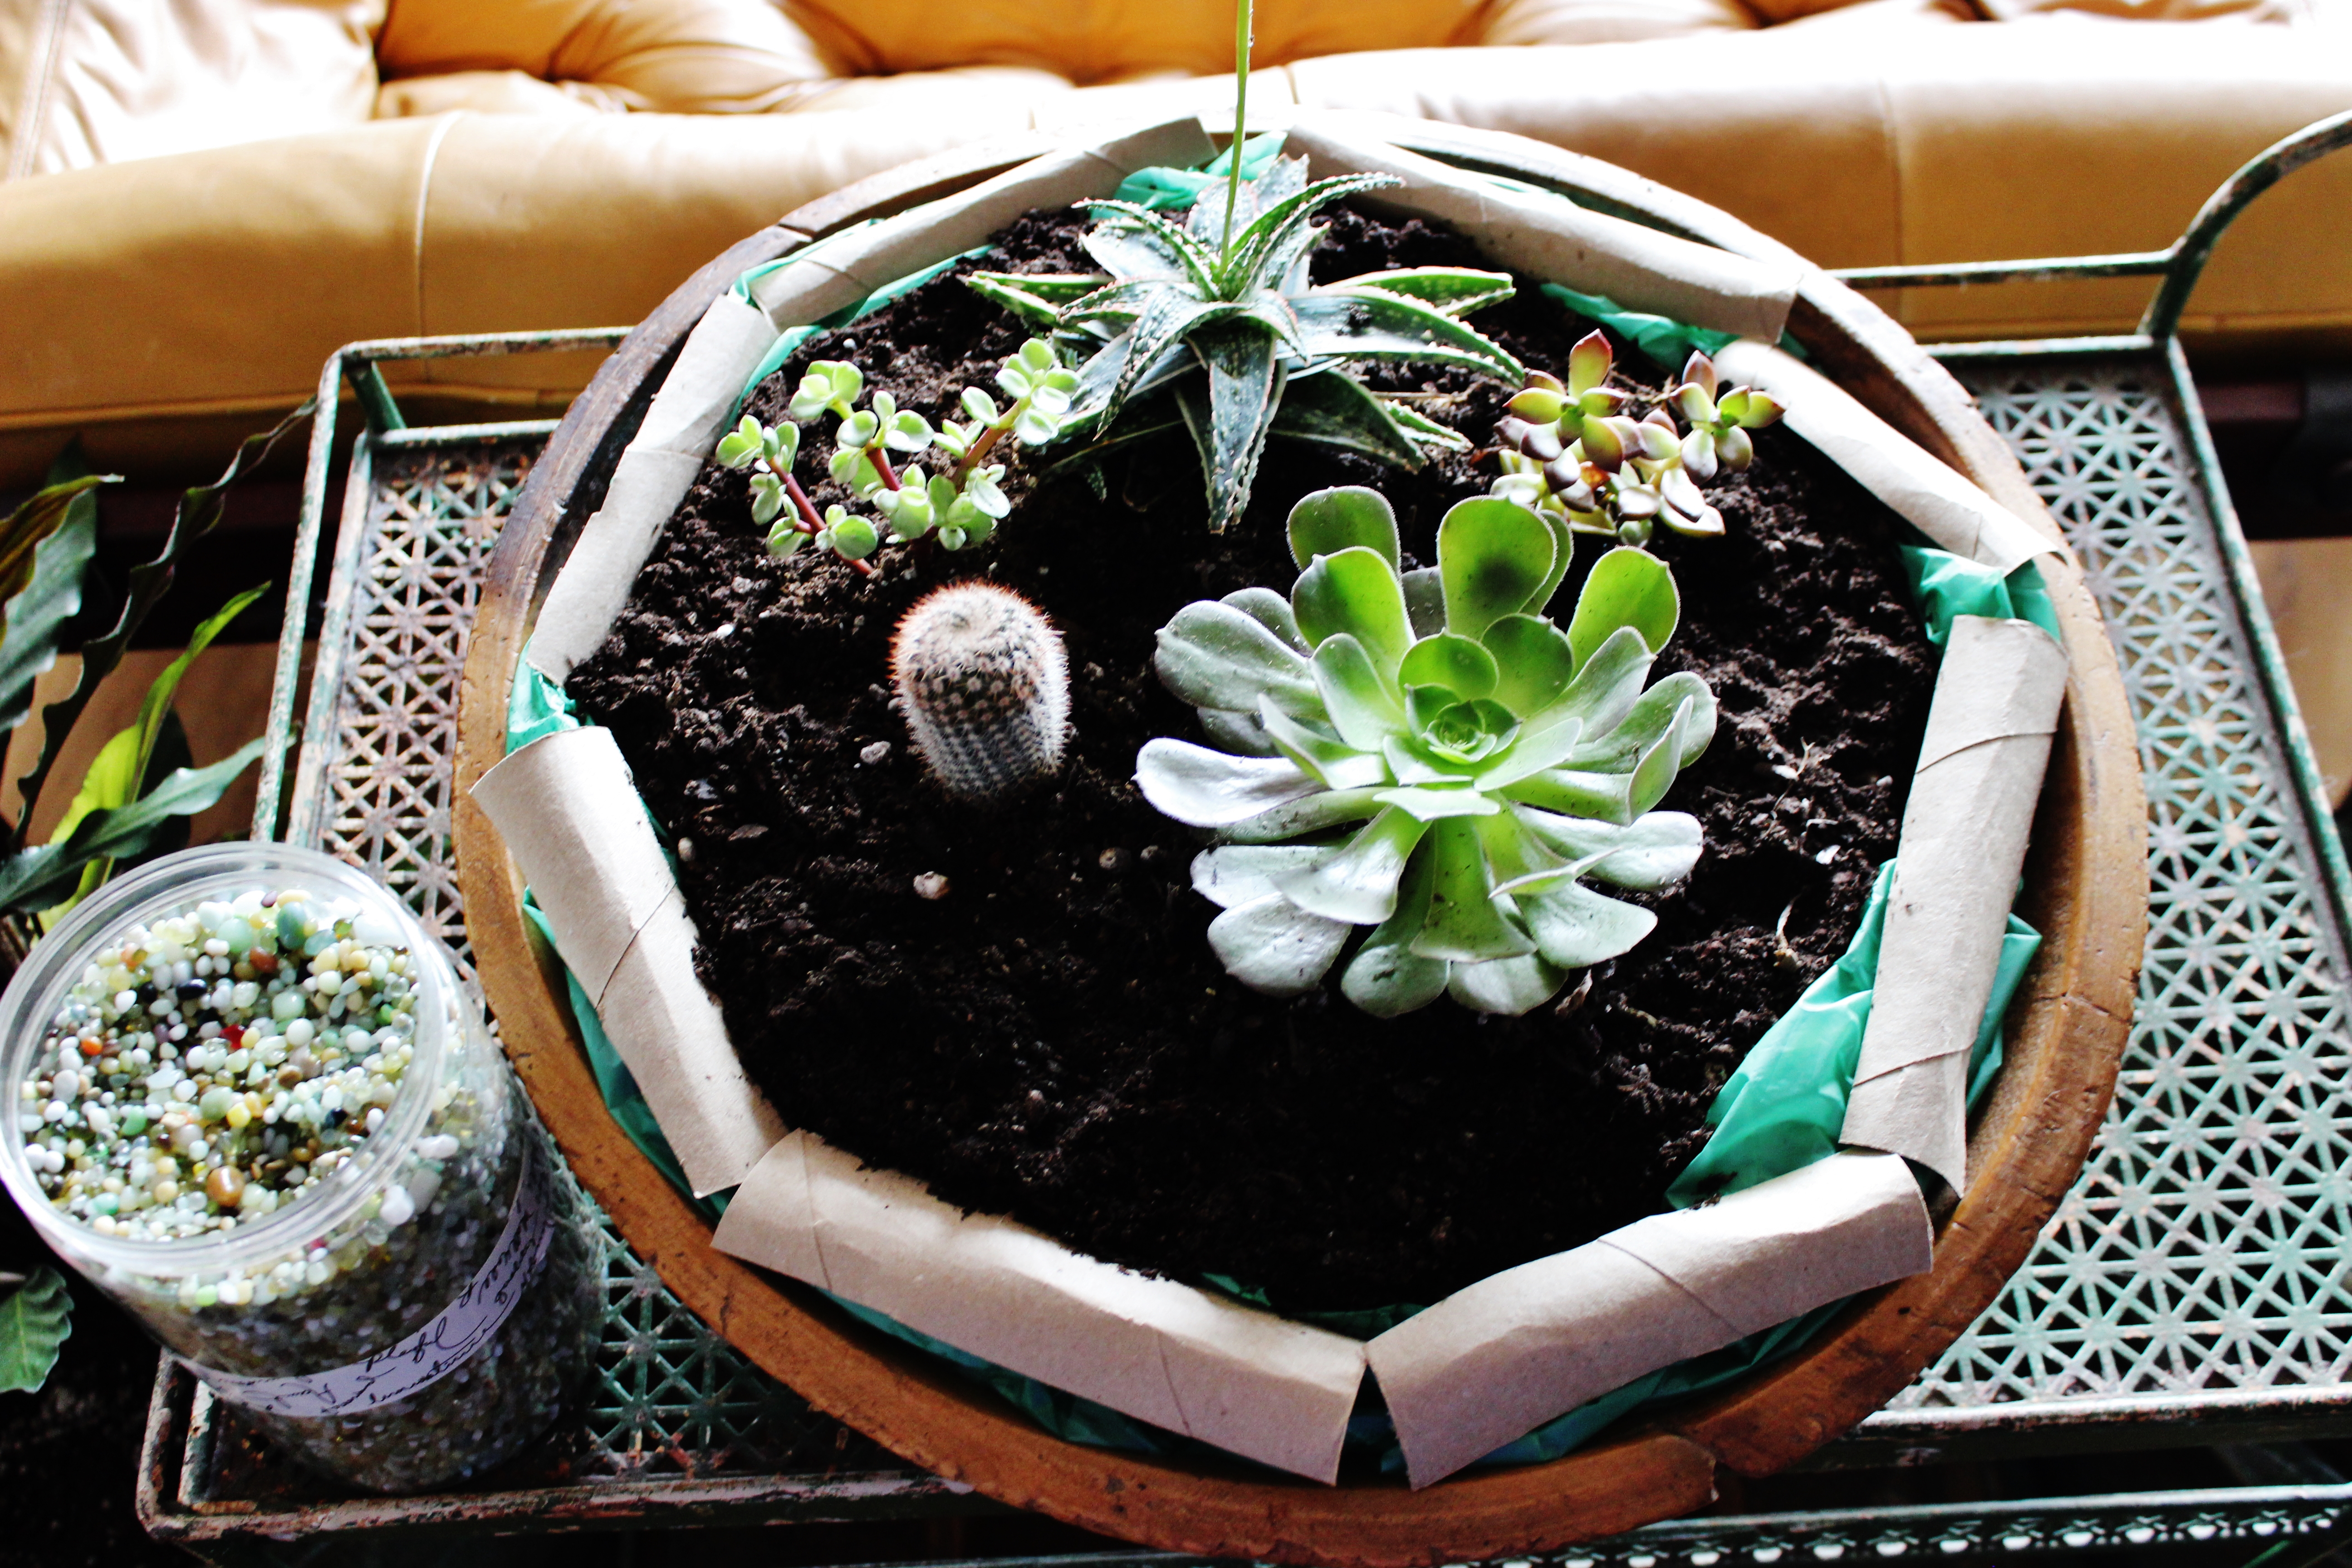
To triply protect the integrity of the wooden bowl, we cut a paper towel roll into strips (length-wise), and then cut those in half. We bent each along the middle and arranged them around the circumference, to (again) direct water to the center and down to the reservoir. (This was totally not part of the original plan, but makes the next step so much easier.)
Step 7: Sprinkle in the Sparklies
Use decorative stone fill (or marbles, or googly eyes) and in-fill the space behind the cardboard pieces, and then cover them – working your way to the middle. We completely filled the outside areas and over the tops of the bags and cardboard first, and then moved inward. We didn’t cover the soil completely around the succulents, just so water could get to the roots a bit more easily.
Step 8: REVEL IN YOUR GREAT CREATION
You’re done! You’ve re-purposed a beloved antique and given it a new life.
And now, our apartment is full of beautiful green things!
Some of which look like marijuana plants, but they’re totally not. For a second opinion of the marijuananess of our plants, we called Amy Adams, but she was too concerned about her lunatic husband in Big Eyes to be of any help.
(And pay no attention to that hideous, but necessary fan.)
Now, gaze again upon the beauty and wonder of your creation from another angle. And remember that you did this together. Or solo. Whatever. I don’t judge. You made something cool, and that’s a fun accomplishment.
Hopefully I won’t have to write a follow up post explaining that the liners failed and the dough bowl rotted out and all the succulents died.
Until then, we’ll be here in our city garden full of tropical, invasive species that’ll never see the outside world.
Yay, environment! Now, go make something cool – and have fun doing it.







Well, dang. Matt, you almost make me want to go get some plants and plant something. Almost. Then I remember that I have killed everything I ever planted because I either drown them or, worrying about that, let them die without water. It’s good to know that there are good planters in the world and others of us have other talents to share. Keep us posted on your garden !
Hahaha – I totally understand. I’ve killed many plants by loving them too much. Hopefully these won’t be my next victims 😉
Wow, that looks awesome! Good luck with the liners- I was going to ask about that. I know some of those compostable ones break down when they get wet. That is really super cool looking, and I’m sure it will definitely lift Andy’s spirits!
Thanks! Yeah, it’ll be interesting to see how long they last. Since these were heavier duty than the liners for our compost bucket, I’m hopeful they’ll hold up a little more 🙂 We’ll seeee!
Also, I love that picture of Mr. Tobes!
I KNOW! I love it. Cracks me up!